
Measure first. Then decide.
If your home feels sticky, clammy, dry, stale, musty, or just a little off, measuring humidity is the fastest way to stop guessing. A simple meter in the right place can tell you whether the problem is too much moisture, air that is too dry, or something else entirely.
This guide explains how to measure humidity in a real house: which tool to use, where to place it, how long to let the reading stabilize, how often to check it, and what the numbers mean.
The goal is simple: get enough useful readings to make the next decision without buying the wrong equipment.
Quick Setup
- Use a digital humidity meter
- Place one on each level if possible
- Wait for the reading to stabilize
- Check morning and evening for 3–7 days
Quick Answer: How to Measure Humidity in Your Home
Use a digital humidity meter, also called a hygrometer. Place it about 4 to 5 feet above the floor, away from vents, windows, exterior doors, bathrooms, kitchens, direct sunlight, humidifiers, and dehumidifiers.
- Place the meter correctly. Use an interior shelf, dresser, or table where it measures normal occupied-room air.
- Let the reading stabilize. After moving the meter, allow about 30 to 60 minutes before treating the number as representative. Give it longer after a major temperature change.
- Measure more than one area. Check the basement or lowest level, main living area, and bedroom level when possible.
- Record more than one reading. Check morning and evening for at least three days. Seven days gives a better picture when conditions are borderline or the weather is changing.
Many homes feel comfortable somewhere around 30% to 50% relative humidity. Persistent readings below about 30% usually point toward dry air. Persistent readings above about 55% to 60% usually point toward excess moisture.
The pattern matters more than one random reading.
Humidity meter and hygrometer mean the same thing
For normal home use, humidity meter, indoor humidity monitor, and digital hygrometer usually describe the same basic tool: a device that measures relative humidity and normally shows the result as an RH percentage.
Some models also show temperature, high and low readings, trend history, alerts, or readings from several remote sensors. Those features can be useful, but they do not change the basic measurement method.
Why Measuring Humidity Matters
Without a humidity reading, you are guessing.
A room that feels cold may actually be damp. A bedroom that feels stuffy may be too humid. A house that feels scratchy in winter may be too dry. A basement that smells musty may have been sitting above 60% relative humidity for days or weeks.
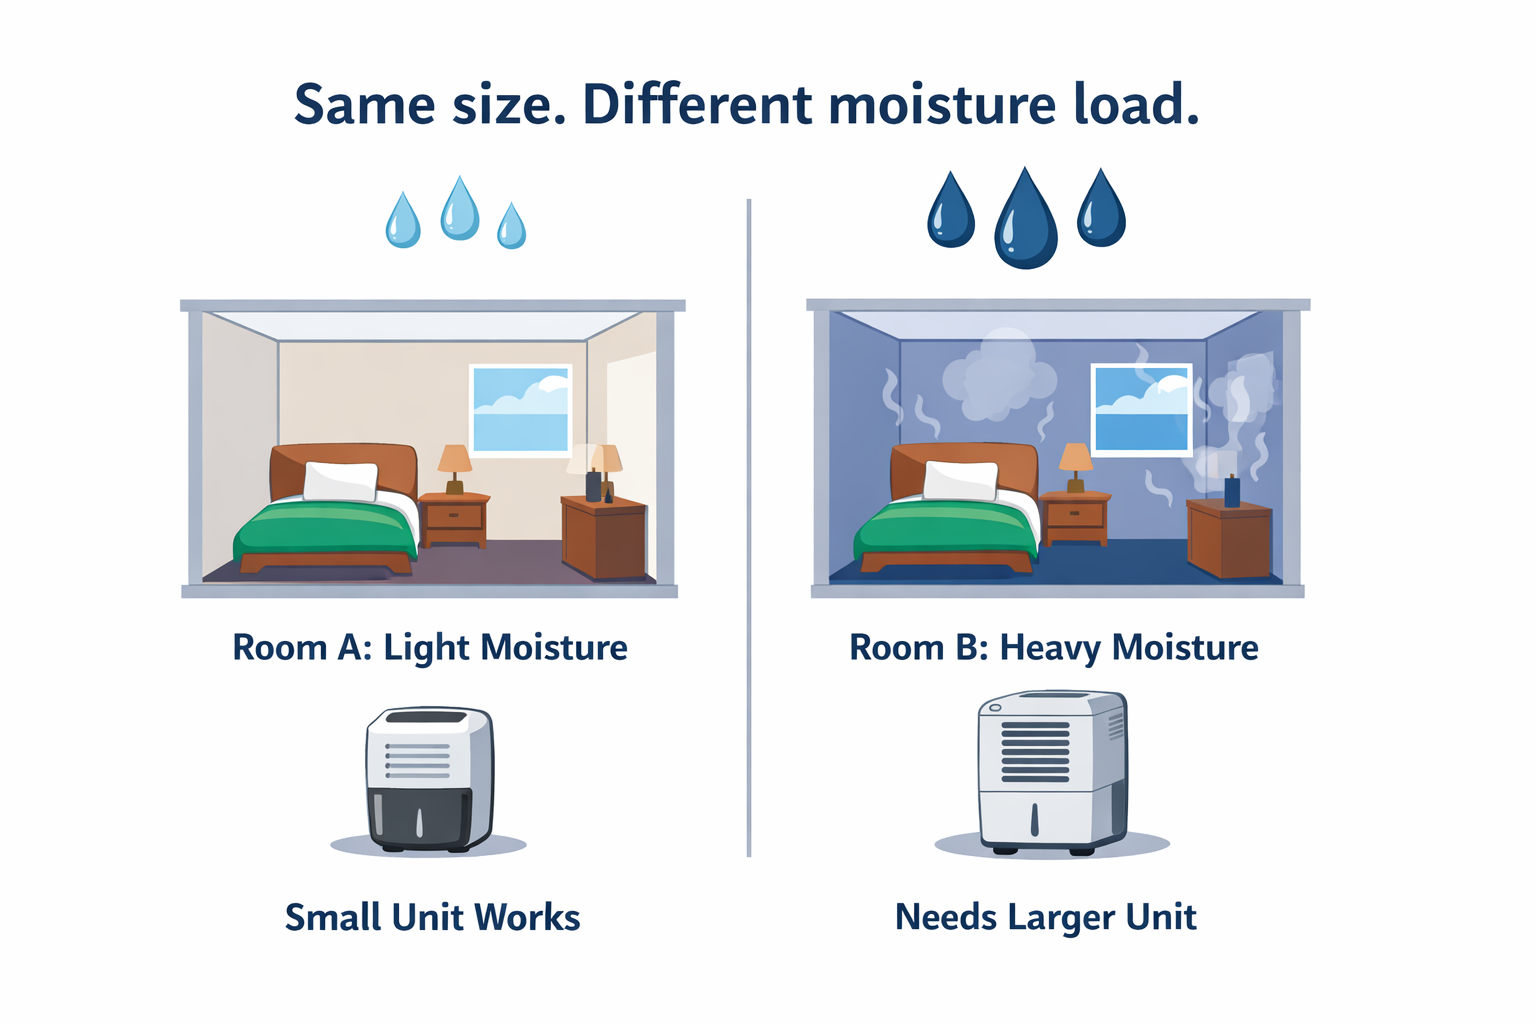
The meter does not fix the problem. It tells you which problem you are actually dealing with.
What Humidity Number Should You Watch?
The useful number for most homeowners is relative humidity, usually shown as RH. Relative humidity in a room is the percentage shown on the meter. You do not need to calculate it. You need to read the percentage and watch how it changes.
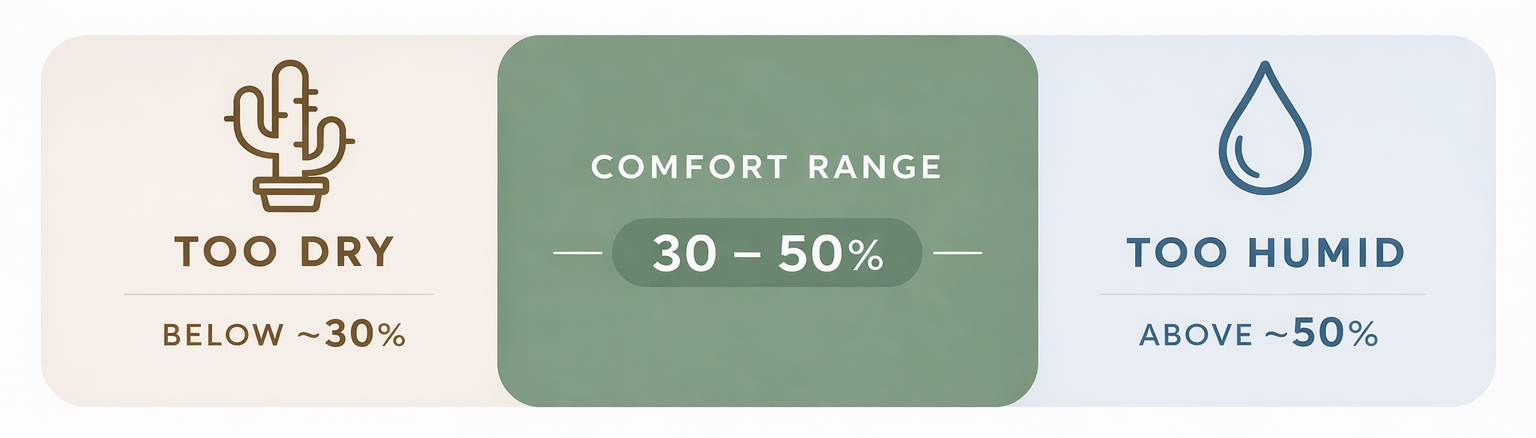
| Reading | What it usually means | What to do next |
|---|---|---|
| Below 30% RH | Air may be too dry, especially in winter | Review dry-air conditions and humidifier guidance |
| 30% to 50% RH | Comfort range for many homes | Keep watching if comfort complaints continue |
| 50% to 55% RH | Watch range | Check problem rooms and moisture sources |
| 55% to 60% RH | Damp-leaning range | Review damp-air conditions and equipment sizing |
| Above 60% RH | Moisture problem is more likely | Check moisture sources, airflow, and lower-level dampness |
Do not treat one reading as a final answer. A house can move from 42% to 55% during weather changes, showers, cooking, or HVAC cycling. What matters is whether the readings keep returning to a problem range.
Where to Place a Humidity Meter
Good placement matters more than expensive equipment. A basic humidity meter in the right spot usually tells you more than a sophisticated sensor sitting next to a vent, window, or bathroom door.
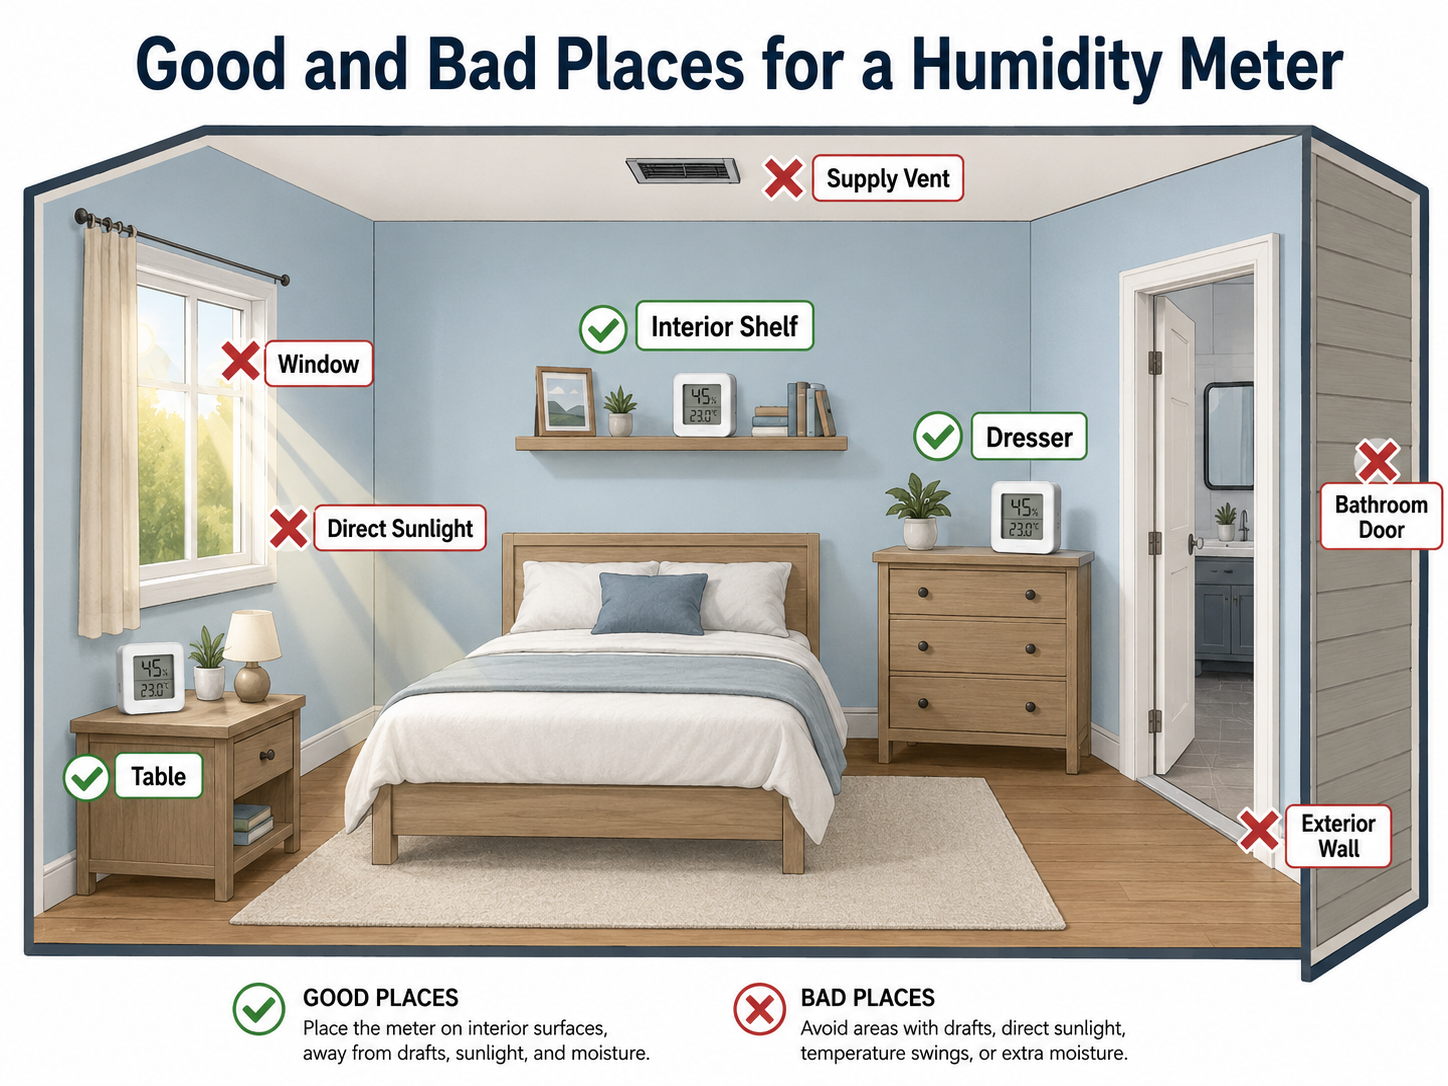
| Good placement | Bad placement |
|---|---|
| Interior shelf | Direct sunlight |
| Dresser or table | Beside a supply vent |
| Normal occupied area of the room | Beside a return grille |
| About 4 to 5 feet above the floor | Right beside a window or exterior door |
| Away from humidity-control equipment | Beside a humidifier or dehumidifier |
| Problem room when diagnosing a local issue | Inside a temporary shower or cooking moisture spike unless that event is being tested |
The goal is to measure the air people actually live in. Do not measure the window frame. Do not measure the vent blast. Do not measure the wall corner behind a couch unless that corner is the actual problem you are investigating.
Allow the reading to stabilize
A humidity meter does not always show the final room reading immediately after it is moved. Give a portable meter about 30 to 60 minutes in the new location before recording the result. A large temperature difference, such as moving the meter from a cold basement to a warm bedroom, can require more time.
Do not compare one room immediately after moving the same meter from another room. Let the sensor adjust first, or use separate meters so each one remains in place.
How Many Places to Measure
One humidity reading rarely tells the whole story. A thermostat in a hallway may show 45% RH while the basement is sitting at 65% and an upstairs bedroom is at 28%.
Start with three locations
- Basement or lowest level: checks dampness and below-grade moisture
- Main living area: checks normal daily comfort
- Bedroom level: checks nighttime conditions and dry-air complaints
If you have extra meters, useful secondary spots include finished basement rooms, laundry areas, bathrooms after shower use, rooms over garages, rooms with condensation, closets that smell musty, and crawlspace-adjacent rooms.
You do not need a sensor in every corner. You need enough readings to see whether the problem is local, floor-specific, or whole-house.
How Long to Measure Before Deciding
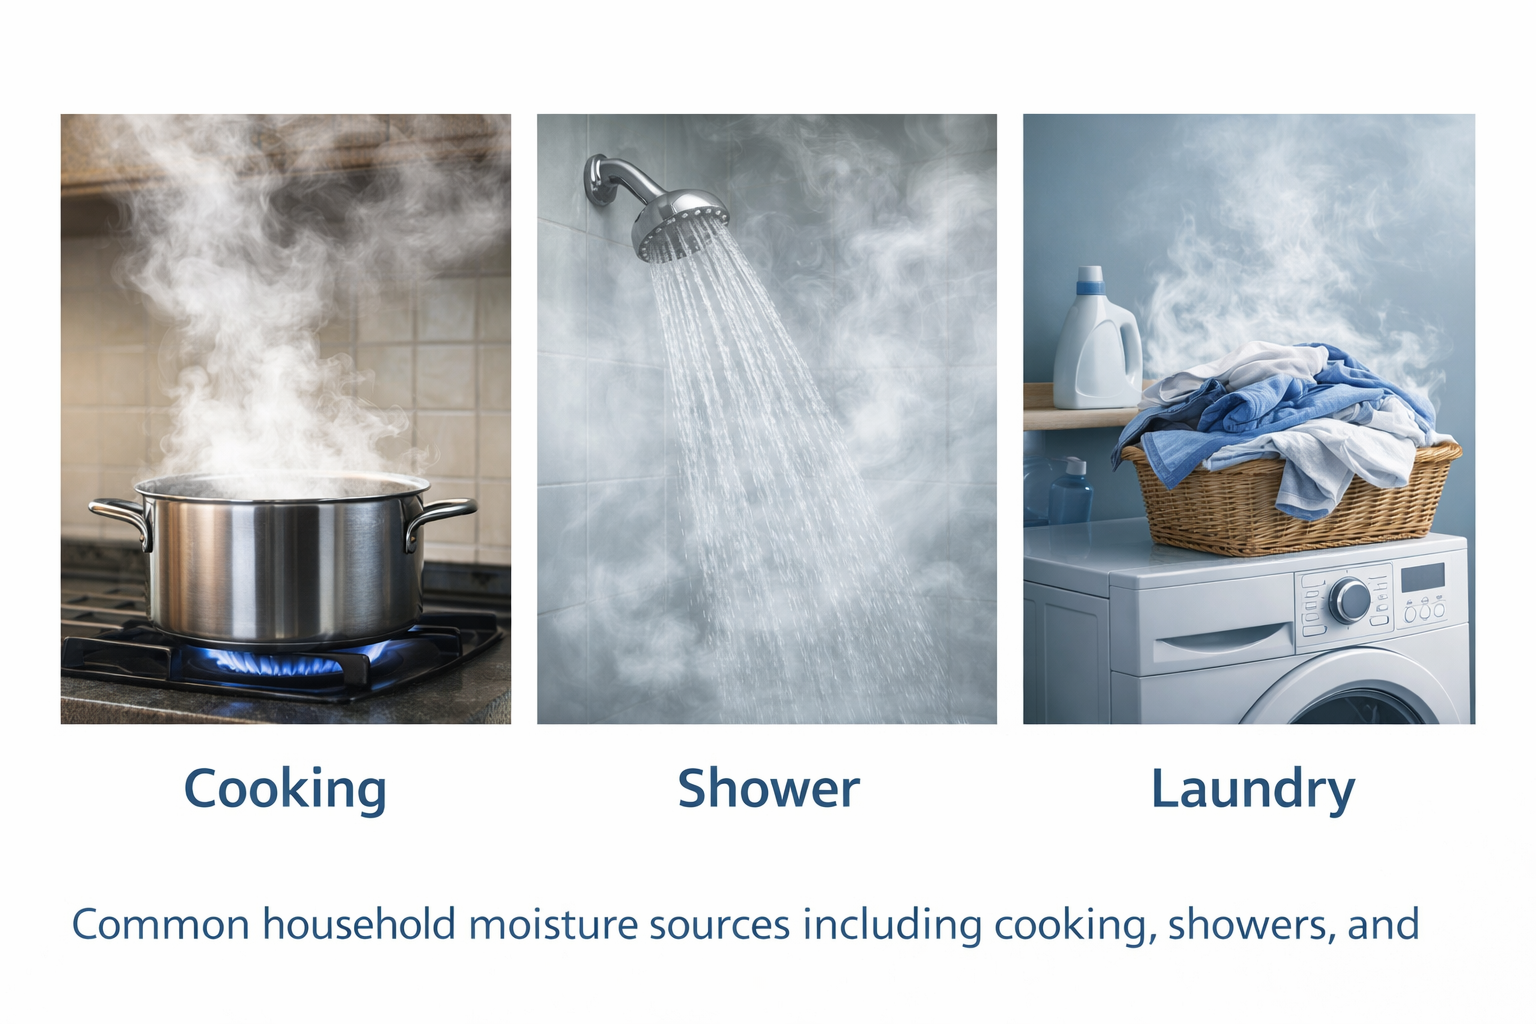
Do not make a buying decision from one number. Humidity changes with weather, HVAC operation, cooking, showers, open windows, and time of day.
Three-day quick check
Use this when the problem is obvious. Check morning and evening, then compare rooms and floors.
Seven-day better read
Use this when readings are borderline, the weather is changing, or you are deciding whether to buy a humidifier, dehumidifier, or smart monitoring setup.
Check at roughly the same times each day. Morning readings show overnight behavior. Evening readings show the effect of daily occupancy, cooking, showers, outdoor conditions, and HVAC operation.
Also check after rain or humid weather, during a cold spell, after showers or cooking if those are suspected triggers, and after the HVAC has been running normally.
You are looking for patterns: a basement that stays above 60% RH, bedrooms that drop below 30% RH overnight, humidity spikes that recover quickly, or one room that is always different from the rest of the house.
Simple Home Humidity Tracking Method
A few days of written readings often make the pattern obvious. Use a notebook, spreadsheet, or phone note. The format matters less than being consistent.
| What to track | Why it matters |
|---|---|
| Date and time | Shows whether readings follow a repeated daily pattern |
| Room or floor | Shows whether the problem is local or whole-house |
| Morning RH | Shows overnight behavior |
| Evening RH | Shows daily living and HVAC behavior |
| Temperature | Helps explain why RH changes even when moisture has not changed much |
| Outdoor weather | Helps explain rain, cold snaps, and humid outdoor air |
| HVAC mode | Shows whether heating, cooling, or fan operation changes readings |
| Notes | Captures showers, cooking, laundry, open windows, odors, condensation, or dryness |
You do not need a perfect log. You need enough information to see what the house keeps doing.
Choose Your Humidity Measuring Setup
Disclosure: This page may include affiliate links. If you buy through those links, HumidityAtHome may earn a small commission at no extra cost to you.
As an Amazon Associate I earn from qualifying purchases.
You do not need the same tool for every home. Pick the simplest setup that answers the question you actually have. For a broader comparison of meter types and features, see Best Indoor Humidity Meters for Home Use.
Budget Option
Use this when you want a low-cost way to check one room or move a meter around the house.
A basic humidity meter with high/low memory is better than a one-time spot check because it shows what happened while you were not watching.
- Current RH reading
- Temperature reading
- High/low memory
- Simple tabletop or shelf placement
Multi-Room Option
Use this when you want to compare several places from one display.
This setup works well for checking the basement, main floor, bedroom level, garage-adjacent room, or an outdoor reference point. It is convenient for spot checks, but it is not the same as full trend logging.
- Multiple remote sensors
- Central display
- Indoor/outdoor sensor support
- Simple readings without relying on an app
Hands-Off Smart Sensor
Use this when you want history, alerts, and phone-app tracking.
This is the better path for a basement, finished lower level, utility room, crawlspace-adjacent room, or vacation-home area where you do not want to check a display every day.
- Wi-Fi gateway or hub
- App-based humidity history
- Humidity alerts
- Add-on sensor support
- Possible expansion for leak or outdoor sensors
Whole-Home Smart Monitoring
Use this when you want humidity visible inside your HVAC or smart-home setup.
A smart thermostat that shows RH can be useful. It still measures humidity only where the thermostat is located, so basements, closed bedrooms, bathrooms, and laundry areas may need separate readings.
- RH display
- Smart-home compatibility
- HVAC wiring compatibility
- C-wire or adapter support
- App access if available
Check wiring compatibility before buying. Some HVAC systems need a C-wire, adapter, or compatibility plate.
For smart-home monitoring limitations and the difference between monitoring and equipment control, see Using Smart Thermostats and Sensors to Monitor Humidity.
Why Your Thermostat Reading Is Not Enough
A thermostat reading can be useful, but it is not enough by itself.
Many thermostats do not measure humidity. Some smart thermostats do, but they measure humidity where the thermostat is installed. That is usually a hallway, interior wall, or central area selected for temperature control, not room-by-room humidity diagnosis.
That location may not represent the basement, bedrooms, bathroom hallway, finished lower level, or closed-off rooms. HVAC cycling and air movement near a return can also make a central reading differ from the conditions people experience in an occupied room.
Use the thermostat reading as one data point. Do not use it as the whole story.
Reading the Results
Once you have several stabilized readings, use them to decide what problem you actually have.
If readings stay above 55% to 60% RH
The house may be holding too much moisture, especially if readings are high in a basement, lower level, bathroom area, laundry area, or musty room.
If readings stay below about 30% RH
Dry air may be the issue, especially in winter or in bedrooms where people notice dry comfort problems overnight.
If readings are mostly between 30% and 50% RH, humidity may not be the main problem. Temperature, airflow, insulation, ventilation, odors, dust, sensor placement, or HVAC performance may be driving the discomfort instead.
If one room is consistently different while the rest of the house is normal, investigate that room before choosing whole-house equipment. Check the sensor location, airflow, exterior surfaces, closed doors, nearby moisture sources, and whether the room is warmer or cooler than the rest of the house.
Final Recommendation
Start with the simplest humidity meter setup that answers your question. For one room, a basic meter with high/low memory may be enough. For several rooms, use a multi-room monitor or several separate meters. For basements, vacation homes, or long-term monitoring, a smart sensor with app history may be more useful.
Place the meter correctly, allow it to stabilize, compare more than one part of the house, and record morning and evening readings for several days.
Do not buy a humidifier or dehumidifier because the house feels wrong. Measure first. Then decide whether the problem is damp air, dry air, uneven conditions, or something unrelated to humidity.
A humidity meter does not fix anything. It keeps you from fixing the wrong thing.
Last reviewed: PH4 July 11, 2026.